
The 5 best free WordPress migration tools:
WordPress Move
WordPress move's most attractive feature is its simple and intuitive usability. This migration tool makes it possible to transfer your entire website while changing the domain and transferring all of your data at the same time. It also serves as a back-up tool.

After the plugin has been installed and activated, you can make use of the Migration assistant in the dashboard under the Tools tab. If you choose the WordPress server relocation (Migrate), you must first install a new WordPress installation on your new host and install the plugin there as well. Enter the FTP details of the new server. Once you have created your backup, you can change to the migration extension in the new installation and restore the old contents and settings with Restore.
All-in-One WP Migration
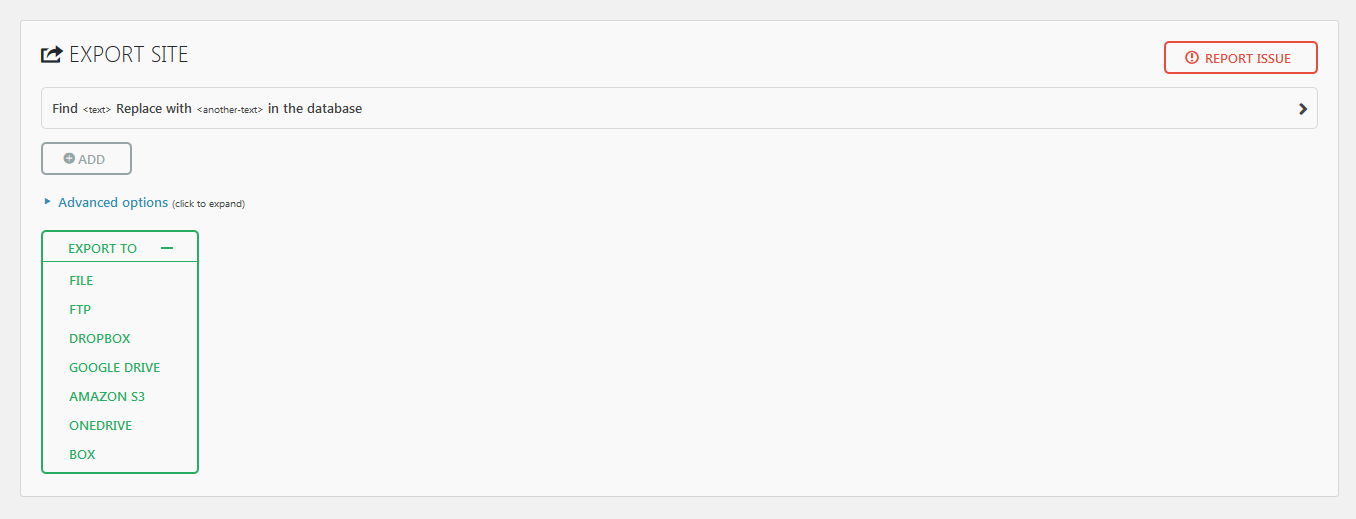
As the name suggests, All-in-one migration offers a complete solution for most of your WordPress migration needs. It exports all data so you can move all files together with the WordPress database: in one step. Another advantage the extension offers is that the upload is divided into small packets. This avoids any possible size limitations that the web server might have in place.

You can export everything in a single file. If you choose the premium version, you have the option to load everything directly to an FTP server or various cloud solutions. On your new server, you can also install WordPress and the plugin, and then use the drag-and-drop function to upload the old data.
WordPress Clone by WordPress Academy
The plugin, WordPress clone is the quickest and least complicated solution for moving WordPress. This program also allows users to transfer pages to a local server environment, thereby allowing copies to be created for testing different approaches.

UpdraftPlus
The plugin UpdraftPlus enables you to save your backup to different cloud servers: after you enable the extension, you will find the plugin under 'Settings' in the dashboard of your WordPress installation. In UpdraftPlus, specify where the backup should be saved: Dropbox, Amazon S3, Drive, or even e-mail (the latter is only recommended if you do not use a free e-mail provider as this greatly limits the size of the received files.) Once you have configured all the settings, the backup can be set up with a single click. To install it on a new server, you switch back to the view of the plugin in the newly created WordPress and select the appropriate files that need restoring.

It’s even easier if you switch to the payment version of the plugin, which means you will have a dedicated migration function available. Premium users also have the option of encrypting their backups, which isn’t a bad idea for backup copies on cloud servers.
